You can see it in the video! How to make a paper craft
How to Make Paper Crafts
We will introduce the tools necessary for making paper crafts, how to use them, and tips for making beautifully with videos. At Creative Park, from animals that can be easily assembled, precision crafts that you can take your time to enjoy assembling We have a wide range of products, including popular miniatures.


1. Prepare the tools and materials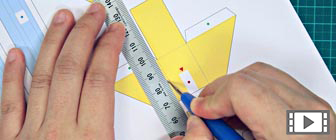
2. Make fold marks
1. Prepare the tools and materials
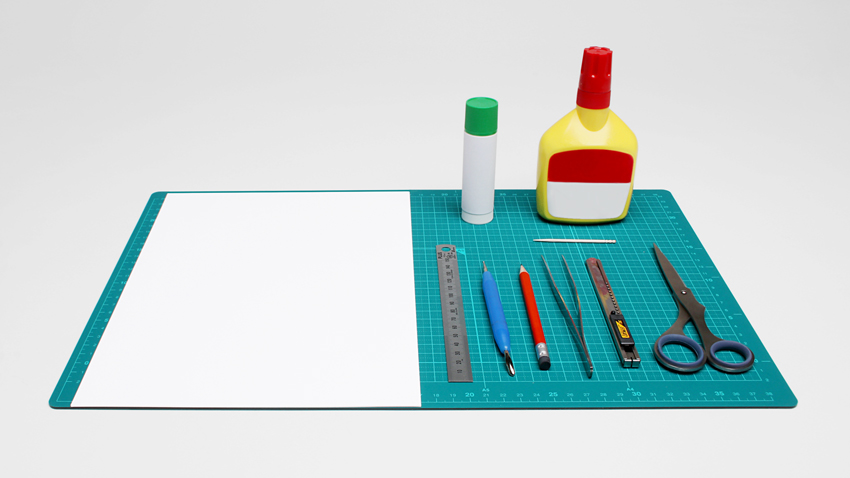
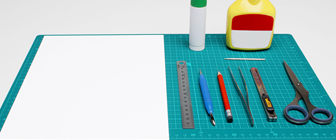
Prepare the following tools and materials.
- Scissors, utility knife, glue stick, wood glue, ruler, set square, pencil
- Object with pointed tip (dried-up ballpoint pen, stencil pen, etc.), toothpicks, tweezers
- Papers (Recommended papers are included under the information for each content.)
Once you have prepared the tools and materials, print the data.
2. Make fold marks
Once you have printed, create fold marks before cutting out the parts. Set the ruler along the fold line and use a dried-up ballpoint pen or a stencil pen to create fold marks and make it easier to fold and build.
1. Separate the parts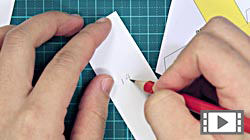
2. Write numbers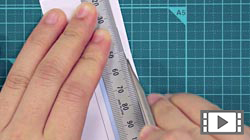
3. Straight lines and cutouts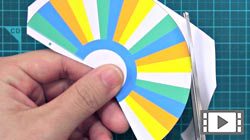
4. Curved lines
1. Separate the parts
No need to cut neatly along the lines from the beginning. Just cut outside the line to separate the parts
2. Write numbers
Make sure to lightly pencil in the numbers on the back of the parts to help you figure out which parts they are.
3. Straight lines and cutouts
Use an utility knife for straight lines and cutouts.
* Avoid cutting your fingers. Use with care.
4. Curved lines
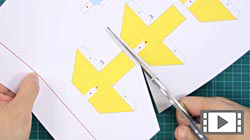
Use scissors to neatly cut curved lines. When using scissors, do not move the scissors forward. Instead, pull the paper towards the scissors to cut.
* Avoid cutting your fingers. Use with care.
1. For large parts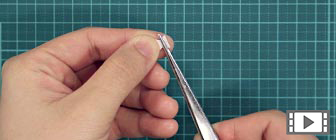
2. For small parts
1. For large parts
Set the ruler on the fold line and fold.
2. For small parts
Pinch with tweezers to fold.
1. For large parts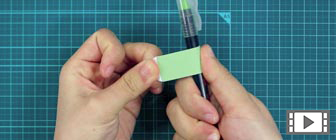
2. For small parts
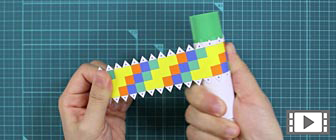
1. For large parts
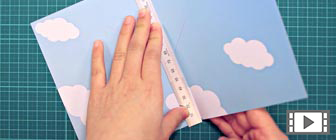
For large parts, use the round edges of your desk or a stick glue. Pull the paper back and forth when rolling.
2. For small parts
For small parts, use pens, bamboo sticks, and other thin and round objects. Pull the paper back and forth when rolling.
1. Gluing large areas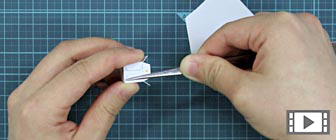
2. Gluing small parts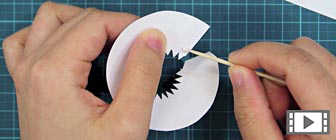
3. Gluing technique
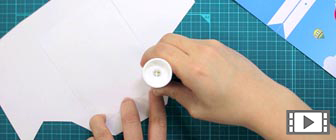
1. Gluing large areas
When gluing large areas, use a glue stick.
Place paper scraps on the edges to prevent the glue from sticking onto the table.
2. Gluing small parts
When gluing small parts, use a wood glue.
Squeeze some glue on a paper scrap and use a toothpick to pick up and spread the glue thinly. Once you have attached the part, pinch with tweezers to secure it.
3. Gluing technique
Put glue on to the place where you will be attaching the tab, and not the tab itself, for better sticking and a cleaner finish.
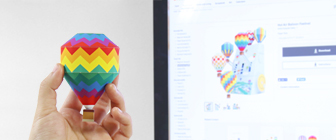
1. Check the photo of the end product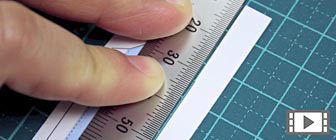
2. How to cut along the lines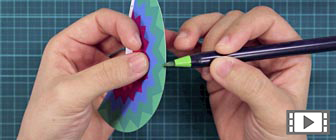
3. Color the visible sections
1. Check the photo of the end product
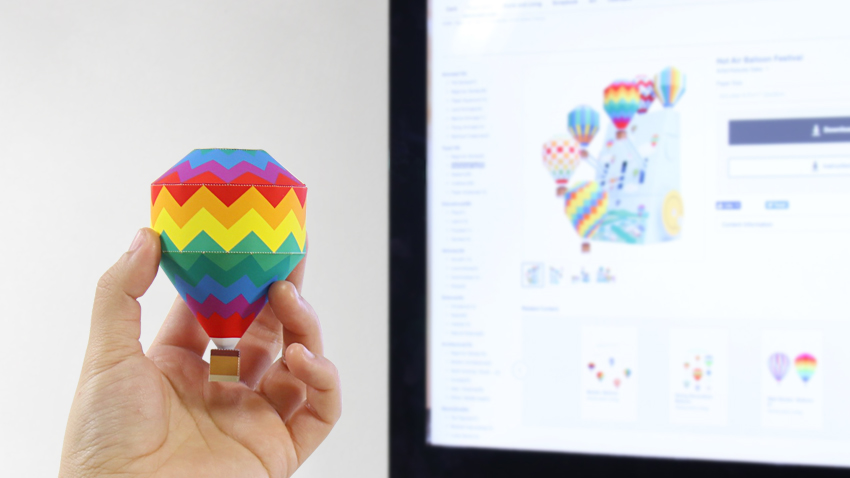
Look at the photo on the page to check how the end product should look for a well-balanced finish.
2. How to cut along the lines
When cutting the parts out, cut inside the line to prevent the lines from being visible and to achieve a clean finish.
3. Color the visible sections
Use color pens to color the white parts to match the parts around it for a better finish. Color parts that you notice even after you have put the parts together.

Easy-PhotoPrint Editor is an easy-to-use photo print app.
